
Working with Images
This article describes how to work with images within the Content Editor.
The Content Editor supports the use of a single, large image within Master Content and within a Layout. This image is referred to as the Primary Image. The size and position of the Primary Image within a given Layout is controlled by the Template Set. A Layout can have only one Primary Image.
In addition, you can insert images directly into text fields. An image inserted into a text field is referred to as an Embedded Image. The size, position, and formatting of Embedded Images is defined by the user from within the Content Editor. A Layout can have multiple Embedded Images.
Primary Image
Assign the Primary Image in Master Content
Many Layouts feature a Primary Image. Using Master Content, you can define this image once, and have it populate in all Layouts that have a Primary Image.
To define the Primary Image in the Master Content:
-
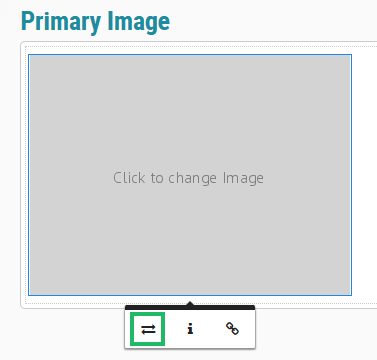
In the tool bar beneath the Master Content, click the Change Image icon to toggle into Image Mode.

Note: You can also toggle into Image Mode simply by clicking into the Primary Image.
-
A contextual menu is displayed beneath the Primary Image. From this menu, click the Replace icon.
-
Select an image via one of the following options:
-
Upload Image: Drag-and-drop the desired image from your local PC onto the drop target. Or, click the drop target, browse to the desired image on your local PC, and click Open.
-
By URL: Enter the URL to the desired image, then click Replace.
-
Browse: Browse to and select an image previously uploaded into the platform’s Gallery screen.
-
The platform pushes this new image down to all Layouts that have a Primary Image. The platform also toggles back to Preview Mode.
Assign the Primary Image in a Layout
Many Layouts feature a single large image referred to as the Primary Image. You can optionally use Master Content to automatically populate the Primary Image in multiple Layouts (see above). Or, you can manually edit an individual Layout and manually assign its Primary Image.
To assign the Primary Image in a Layout:
-
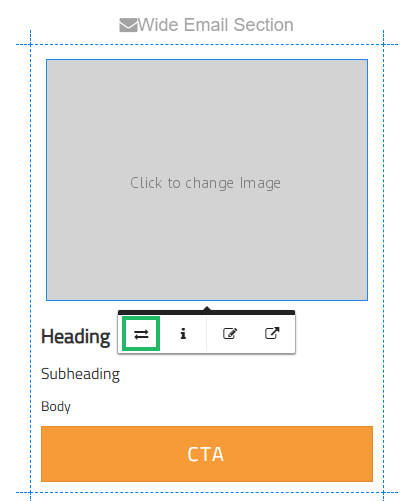
In the tool bar beneath the Layout, click the Change Image icon to toggle into Image Mode.

Note: You can also toggle into Image Mode simply by clicking into the Primary Image.
-
A contextual menu is displayed beneath the image field. From this menu, click the Replace icon.
-
Select an image via one of the following options:
-
Upload Image: Drag-and-drop the desired image from your local PC onto the drop target. Or, click the drop target, browse to the desired image on your local PC, and click Open.
-
By URL: Enter the URL to the desired image, then click Replace.
-
Browse: Browse to and select an image previously uploaded into the platform’s Gallery screen.
-
-
In the tool bar beneath the Layout, click the Preview button to toggle back to Preview Mode.

Embedded Images
Embedded Images refer to images inserted into text fields. Embedded Images offer more user-defined formatting options than the Primary Image does (the formatting and appearance of the Primary Image is largely controlled by the Template Set).
Add an Embedded Image into Master Content
If you add an Embedded Image into a text field in Master Content, that image (and its formatting) is pushed down to all Layouts that use that text field.
-
In the tool bar beneath the Master Content, click the Edit Text icon to toggle into Edit Mode. All of the text fields are made editable.

Note: You can also toggle into Edit Mode simply by clicking into a text field.
-
Position your cursor within the text field where you want to insert the Embedded Image.
-
In the contextual tool bar, click the Image icon.
-
Select an image via one of the following options:
-
Upload Image: Drag-and-drop the desired image from your local PC onto the drop target. Or, click the drop target, browse to the desired image on your local PC, and click Open.
-
By URL: Enter the URL to the desired image, then click Replace.
-
Browse: Browse to and select an image previously uploaded into the platform’s Gallery screen.
-
-
The platform pushes this new image down to all Layouts that have this text field. The platform also toggles back to Preview Mode.
-
Click the Embedded Image. Optionally apply image formatting using the tools displayed within the image tool bar. These tools are described below in more detail. Any image formatting options you apply are pushed down to all Layouts that have this text field.
Add an Embedded Image to a Layout
You can use Master Content to automatically populate an Embedded Image in multiple Layouts (see above). Or, you can manually edit an individual Layout and add an Embedded Image to it.
To add an Embedded Image to a Layout:
-
In the tool bar beneath the Layout, click the Edit Text icon to toggle into Edit Mode. All of the text fields are made editable.

Note: You can also toggle into Edit Mode simply by clicking into a text field.
-
Position your cursor within the text field where you want to insert the Embedded Image.
-
In the contextual tool bar, click the Image icon.
-
Select an image via one of the following options:
-
Upload Image: Drag-and-drop the desired image from your local PC onto the drop target. Or, click the drop target, browse to the desired image on your local PC, and click Open.
-
By URL: Enter the URL to the desired image, then click Replace.
-
Browse: Browse to and select an image previously uploaded into the platform’s Gallery screen.
-
-
Click the Embedded Image. Optionally apply image formatting using the tools displayed within the image tool bar. These tools are described below in more detail.
Embedded Image Editing Tools
When working with an Embedded Image, the following tools are displayed within a contextual tool bar.
| Name | Description | |
|---|---|---|

|
Replace |
Replace the current image with a different image. |

|
Align |
Select an alignment for the image: left, center, or right. |

|
Caption |
Toggle on / off a text caption beneath the Embedded Image. |

|
Remove |
Delete the Embedded Image. |

|
Hyperlink |
Assign a link to the Embedded Image. For more information, please see Working with Links. |

|
Style |
Add a border to the Embedded Image. The options are:
|

|
Alt Text |
Add alt text to the image. See Add Alt Text to an Image below for more information. |

|
Resize |
Enter the image width and height dimensions (in pixels). Please note that you can also resize an Embedded Image by selecting it, then clicking-and-dragging on a corner “handle.” |
Add Alt Text to an Image
Alternate text (or “alt text”) is text added to an image, intended to describe the image. Adding alt text is recommended in order to improve accessibility.
The process of adding alt text to an image is the same regardless of the image type (Primary or Embedded) or location (Master Content or a Layout).
To add alt text to an image:
-
Add the image using any of the methods described above.
-
Click the image. A contextual menu is displayed beneath the image. From this menu, click the Alt Text icon.
-
In the Alternate Text field, enter the alt text value, then click Update.
